She said she couldn't draw so I made this activity to lure her into it with relative security of success.
You need:
cartridge paper
2B lead/graphite pencil
erasers soft, kneadable and hard
stencils
Start by creating a patch of pencil shaded paper.

Then choose a stencil of your choice and lay it over the patch, erase through the stencil.


Now trace around the white bits. I didn't do all the lines inside the shape, I just went with what I thought looked good.

Then add some shading around the shape, if you stick to one side only you get a shadow effect.

I added some shading inside the leaf shape too.
Here are some examples we did in the craft lesson.
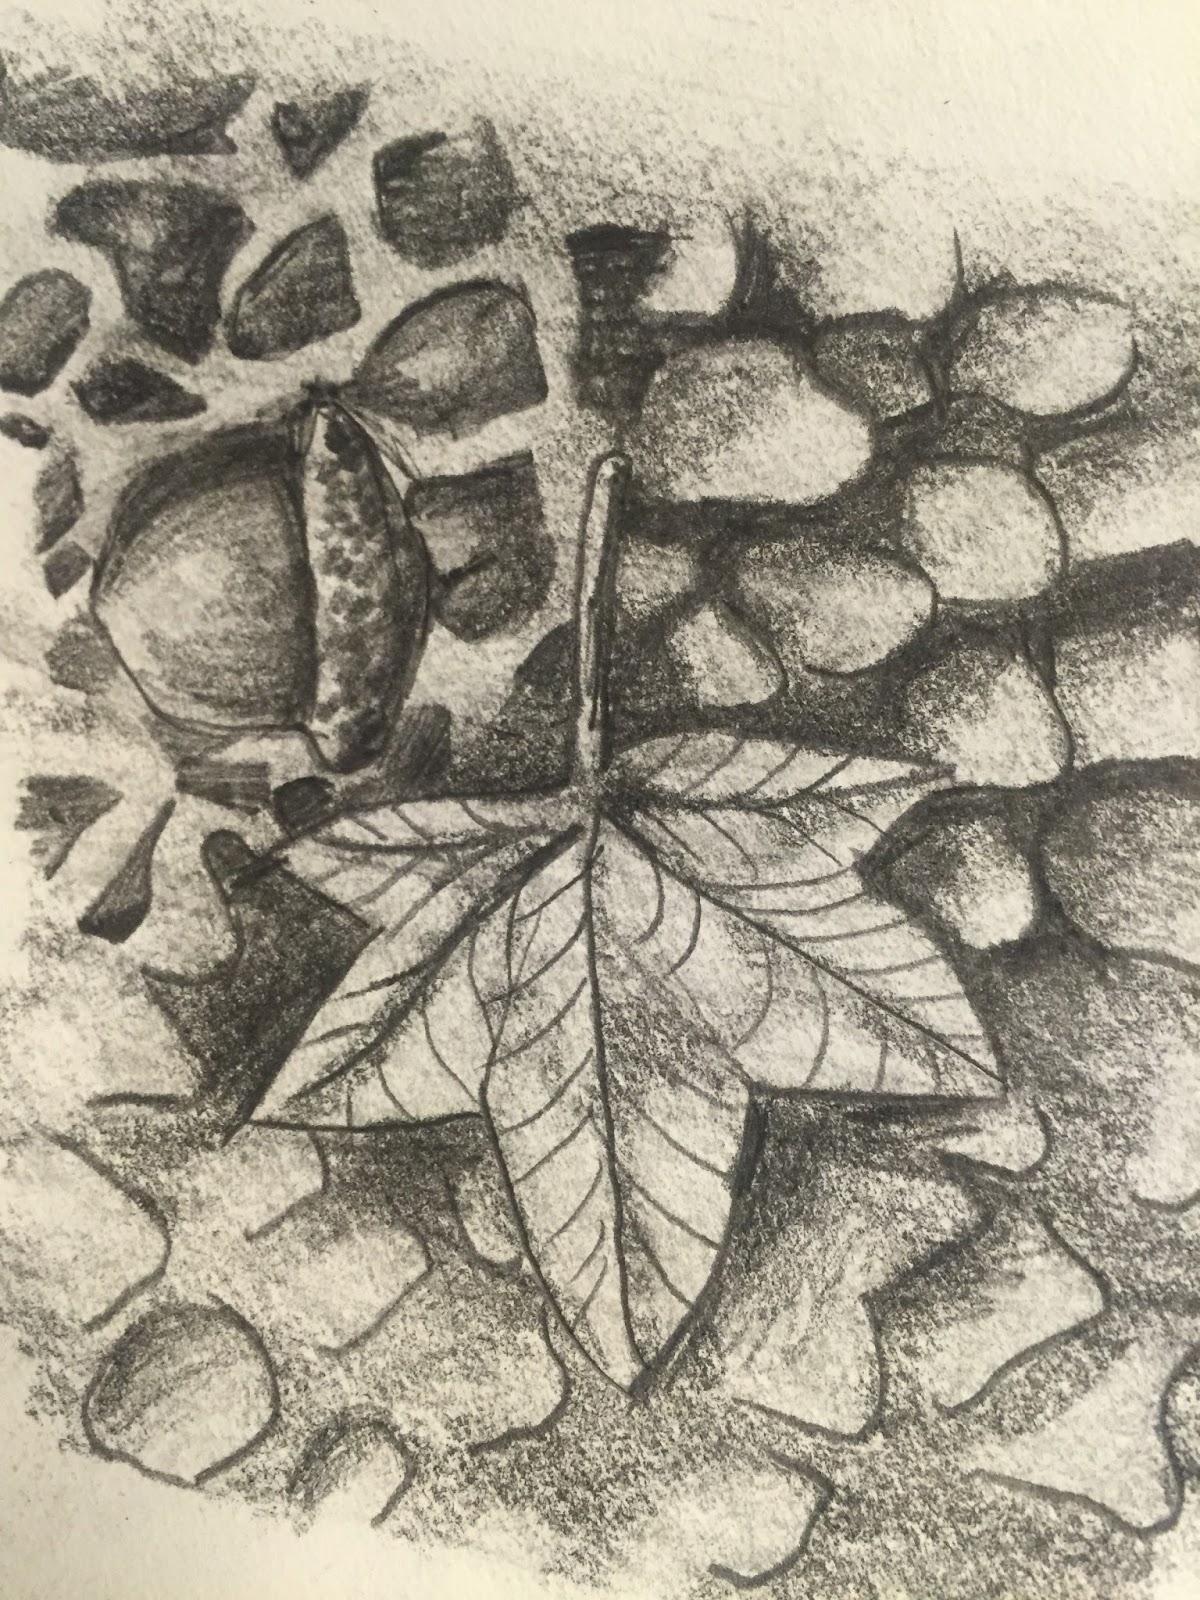
I used various stencils here and with more shading you can get some realistic and surreal effects.

No comments:
Post a Comment