Friday, July 1, 2016

Leaves and drops

 Jake's Leaf


 Jenny's Leaf


 Chantalle's Leaf

These are the pictures that we made in our drawing lesson on drops and leaves today. We looked at creating subtle tone shading and water effects. 


Wednesday, June 15, 2016

Plastic Bottle Butterflies


Hello everyone :-) we are going to make a classic crafty thing from plastic bottles. I was in the mood for pretty things.


First cut a bottle in sections, choose a smooth part of the bottle and cut it in half. 


Then fold the section in half so that it looks like an open book, against the curve not with the curve of the bottle.


You get your mid section, the fold and line it up with a clip art butterfly picture (I just got these from Word) and trace it with a sharpie. 

Then you get your old gluggy nail polish and dab it onto your design. To get a good opaque (not see through) covering you may need to coat parts several times. In the case of a black you will want to colour in underneath the black with a sharpie to get it blackest black. 


Layer on your colours, experiment with colour combos!


Add some bling with stick on jewels.

All that is left to do is stick on some feelers (I used slivers of plastic bottles coloured black with a sharpie and hot glue gunned on, but you could use beading wire and beads too) and then a magnet on the back. I used a hot glue gun. Tadaa you have made bling butterfly magnets :D


Wednesday, June 8, 2016

Eraser Drawing

Last week my craft student had bought herself some new erasers, hard, medium, soft and a black one. She asked me how she could use them so I decided to show her how to build a picture with erasing.

She said she couldn't draw so I made this activity to lure her into it with relative security of success.

You need:
cartridge paper
2B lead/graphite pencil
erasers soft, kneadable and hard
stencils

Start by creating a patch of pencil shaded paper.


Then choose a stencil of your choice and lay it over the patch, erase through the stencil.


Now trace around the white bits. I didn't do all the lines inside the shape, I just went with what I thought looked good. 


Then add some shading around the shape, if you stick to one side only you get a shadow effect. 


I added some shading inside the leaf shape too.

Here are some examples we did in the craft lesson. 


I used various stencils here and with more shading you can get some realistic and surreal effects.


Wednesday, April 27, 2016

Indoor Kites (or Paper Kites)

Hello Everyone!

I was going to do this much earlier in April but was waiting on some photos to be sent to me. However they haven't arrived yet so I thought I had better share as promised to those who attended the workshop. It was run for the Armadale Council for the Minnawarra Arts Festival during the last school holidays. I was very glad to see kids of all ages whirling the kites madly indoors. My pictures of it flying are outside because there isn't enough room to swing a kite in my house.

This is what we are making:


Short string paper kites!

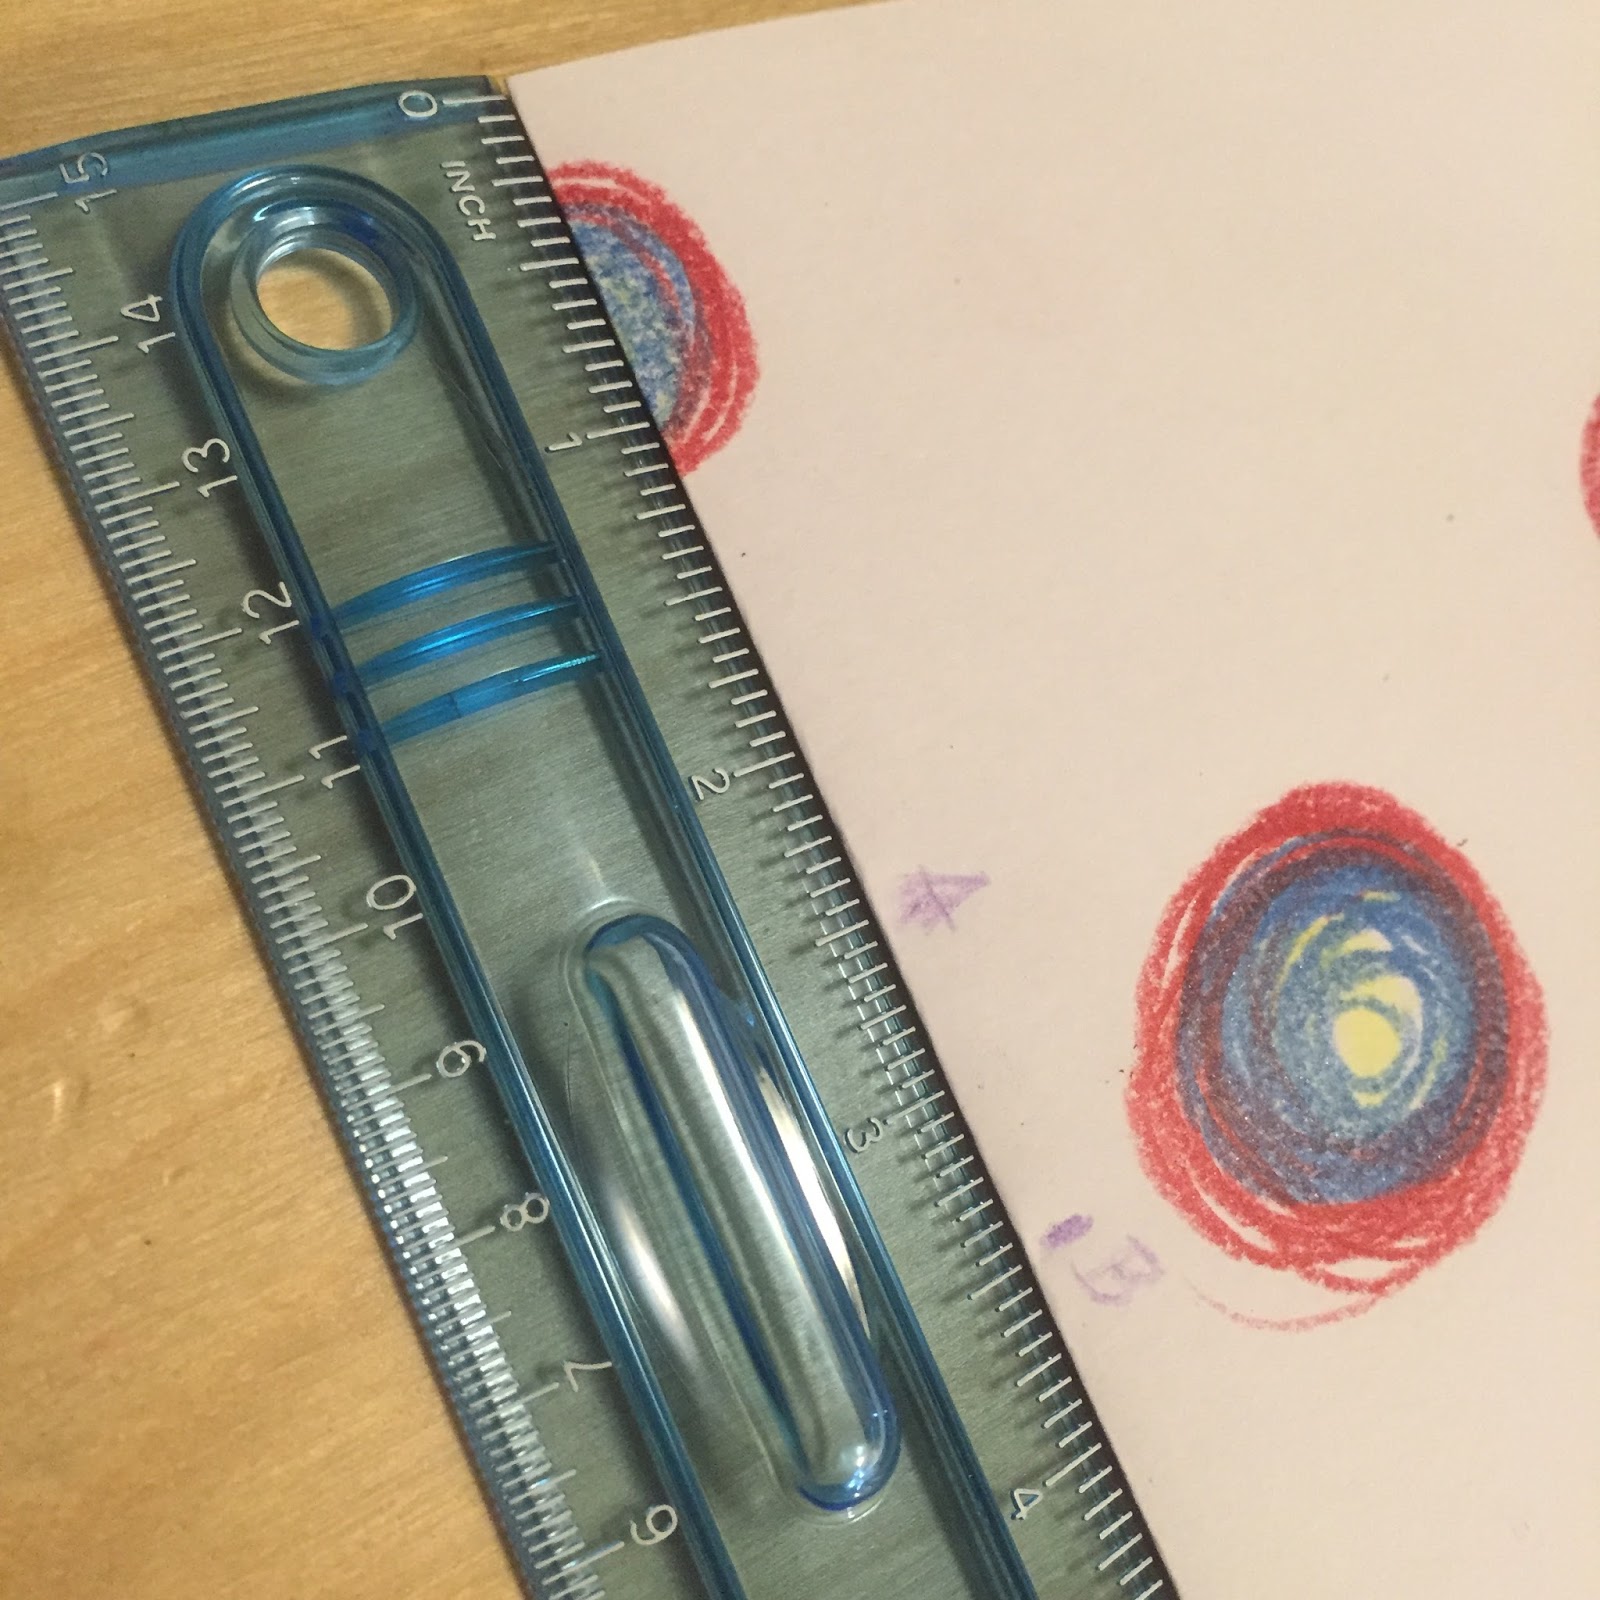
You start with a sheet of A4 paper, any colour. 


You decorate both sides but the side that you like best should be the underside of the kite because that is the side you will see most.  I have gone for simple crayon spots but you could do stickers or paint, though with paint you will have to wait till it dries and with stickers you will make it more heavy.  You can of course use a photocopy of a favourite colouring book and colour that in to make this. 


Then after you decorate and choose your favourite side you fold it in half, (making it an A5 sheet). Remember your favourite side should be the side that shows when you fold the tips together. 

Now you need to measure two points along the bottom /folded edge. Point A and Point B. Mark Point A at 2.5 inches and Point B at 3.5 inches or if you are metric A is at 6.5mm and B is at 9mm.


Fold the tips of the paper on one side to Point A, making sure the points line up with each other and with your mark. 

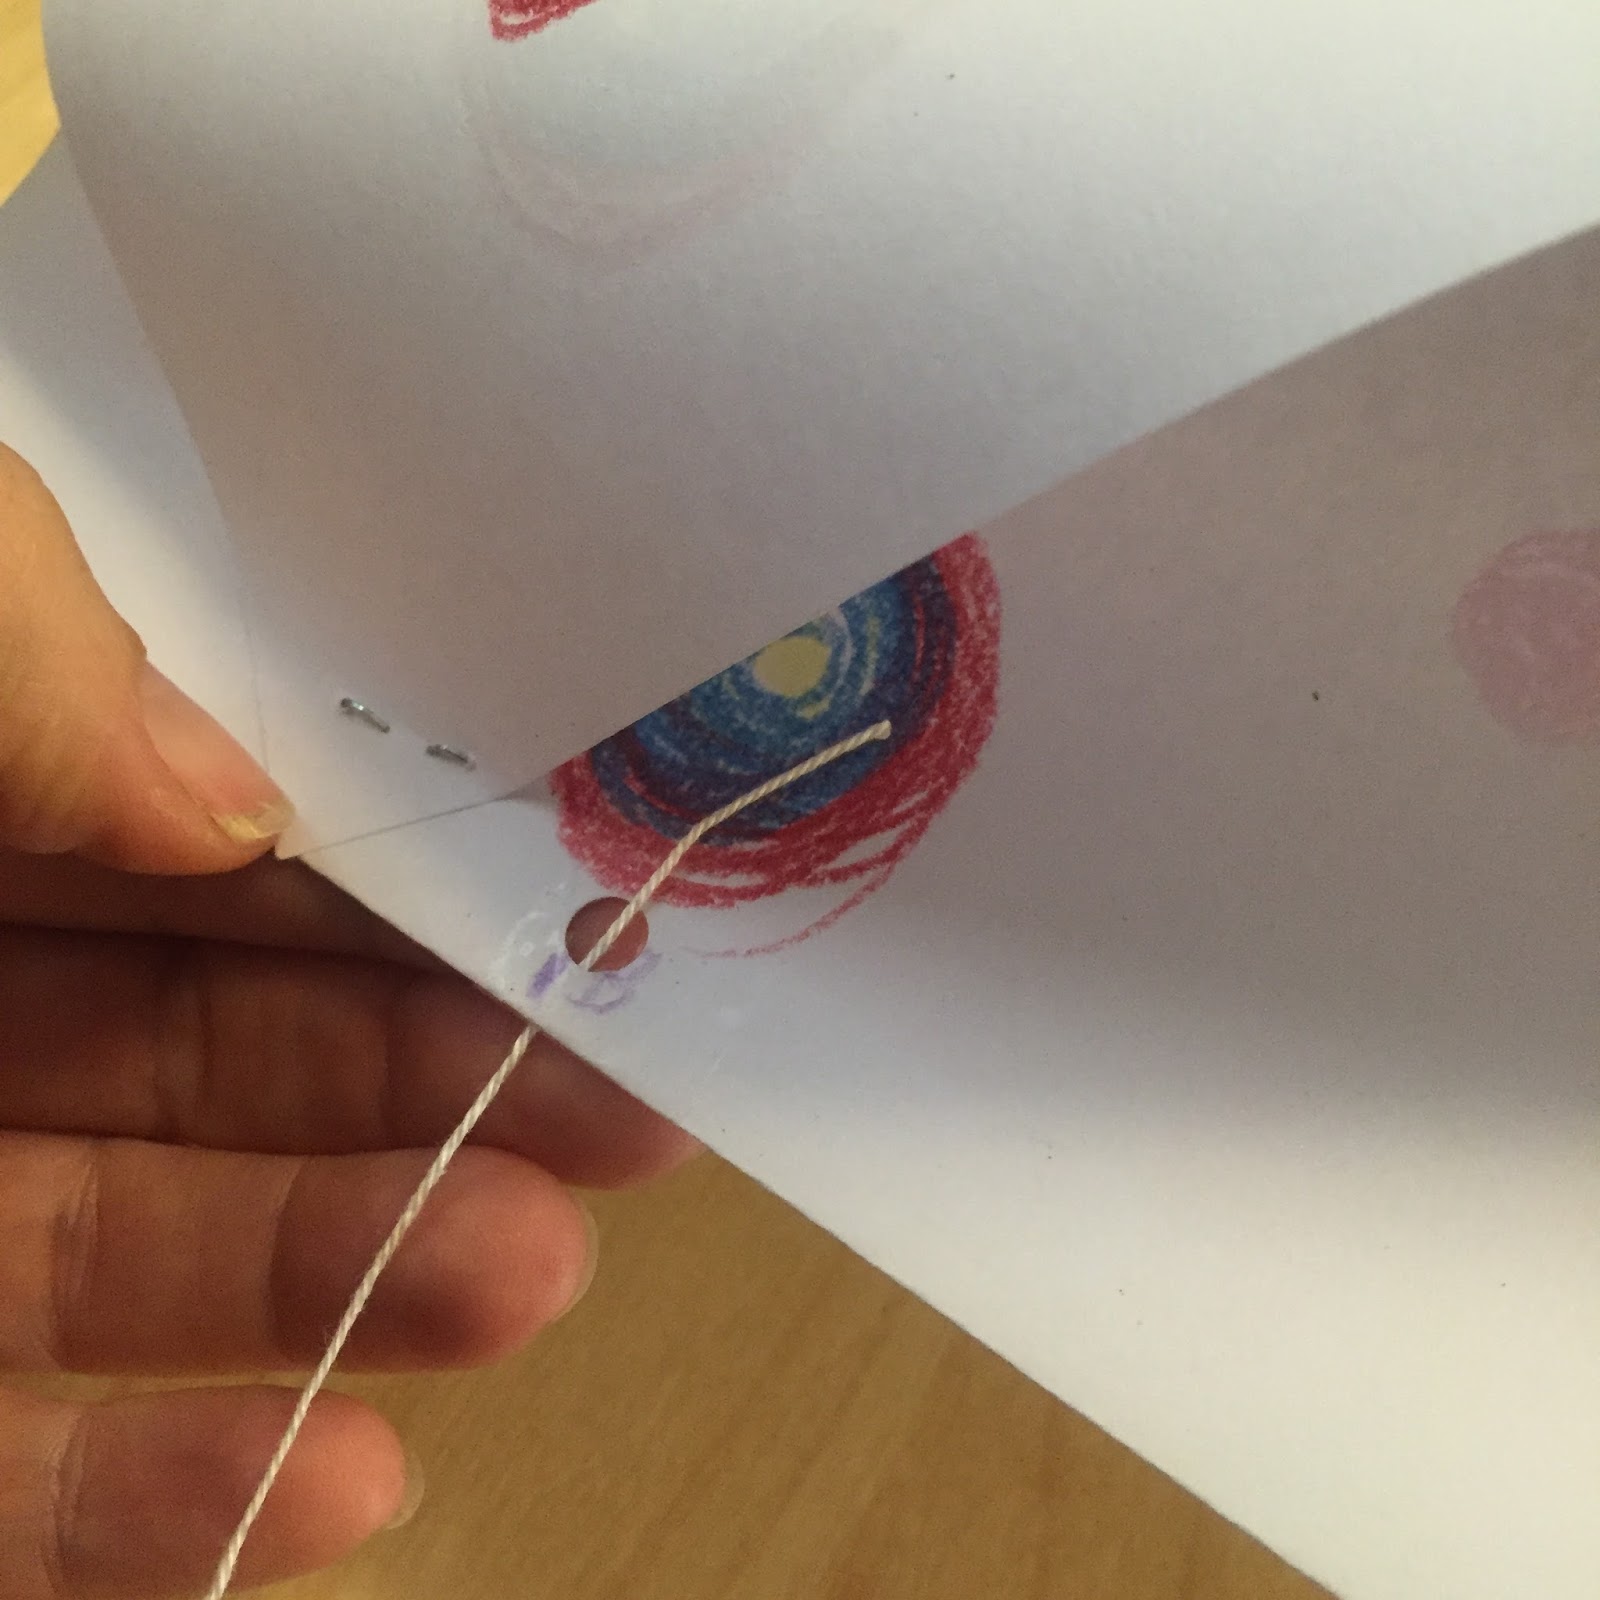
Staple them together, try to get the staple aligned with the fold so that it holds together better. 

Next you need to put some sticky tape over Point B and punch a hole in it with a hole punch or craft punch.

Almost done. It's so easy! Now you tie some string, yarn or fishing wire through the hole. If you make it longer wind the end around a piece of card. Tie a double knot for extra strength.


Choose some paper streamers and get a short length and sticky tape it to the middle of the fold on the end that isn't stapled. I chose two colours. Just be careful not to make the streamers too long or too heavy. Your kite will have a hard time lifting up. 


And you are ready to fly it! If there is no wind just whirl it around with your arm and it will loop de loop. It is also fun to just run and let it fly in your wake. Try not to stand too close to someone when you are loop de looping it because it hurts a bit getting it in the face. (My daughter found this out when I loop de looped it too close to her !! )
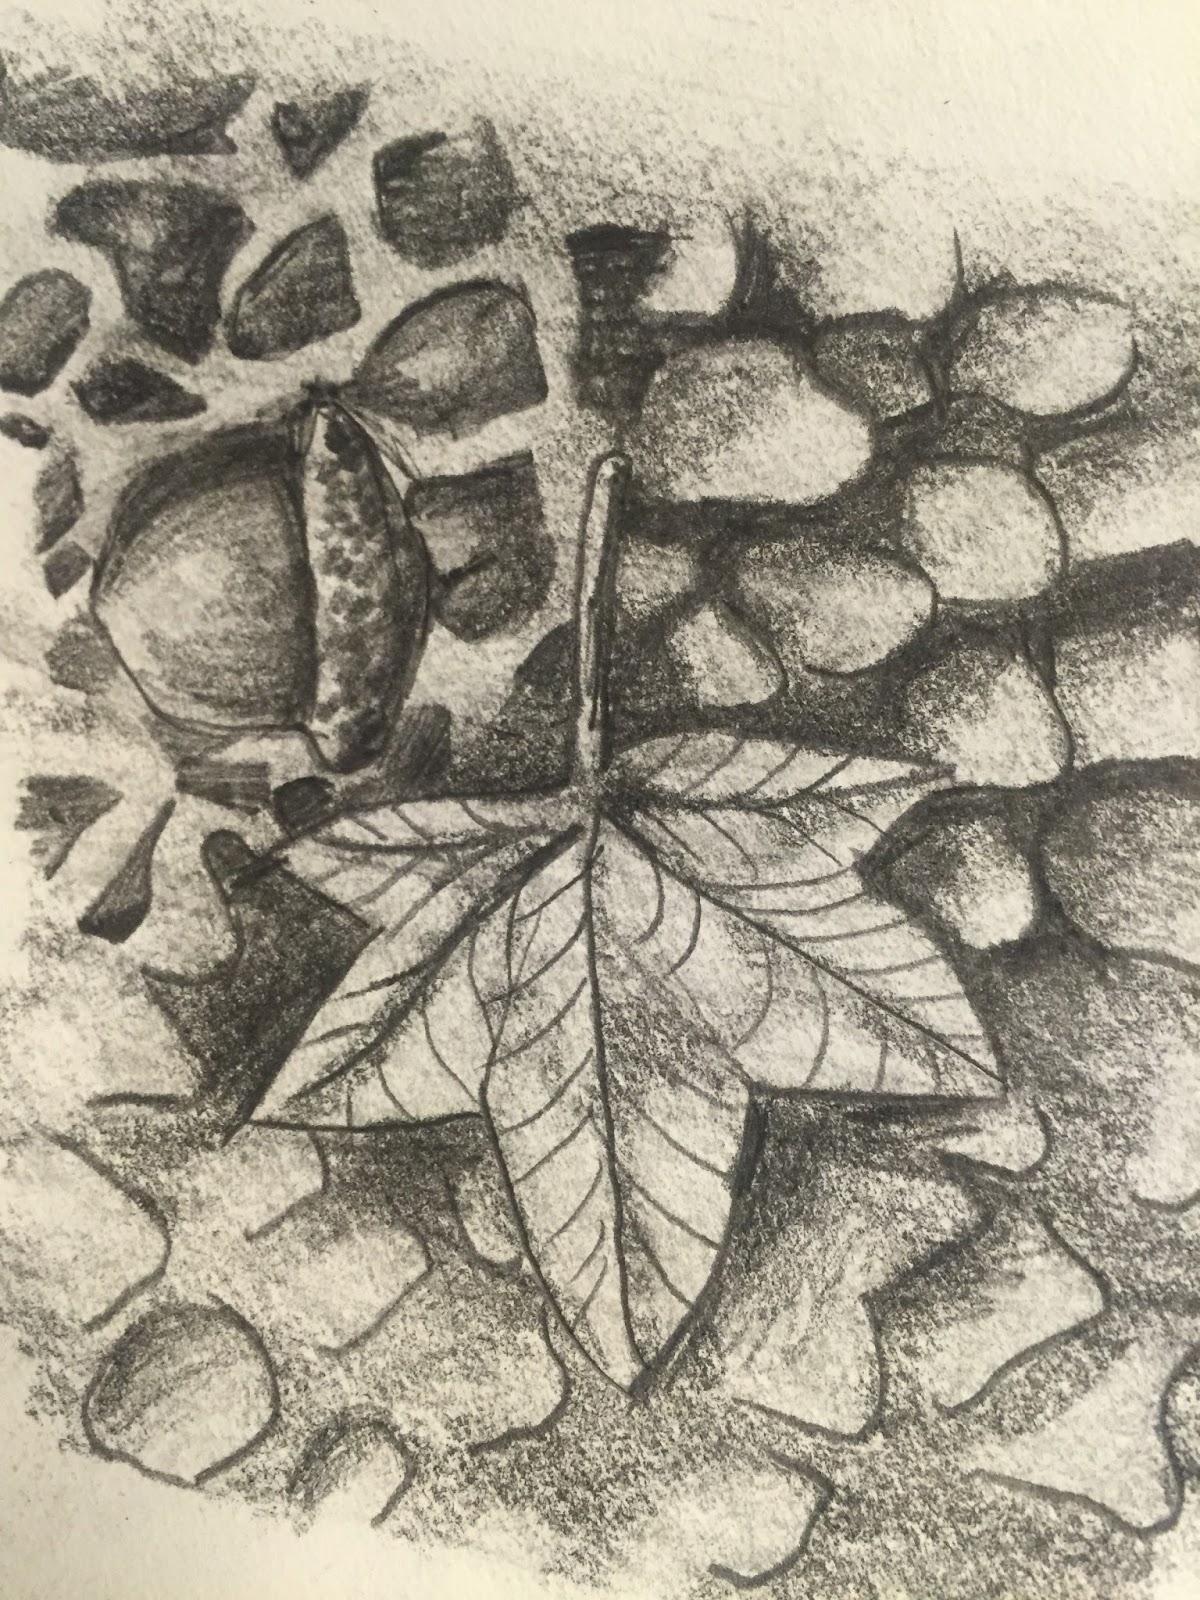


Thursday, April 7, 2016

Paper Making

This week was about paper recycling. I found a kit at a second hand goods store and we set to it. 

First we ripped up paper, old junk mail and magazine paper and soaked it in boiling water for 15 minutes. Then I stuck it in the blender and pulsed. I filled a storage container bottom with water and added the pulp. 

It was a bit hit and miss to how much pulp to put in the water. But I discovered that less is more, when there is too much pulp you are making cardboard rather than paper. 


This is the Deckle. A mesh screen in a wooden frame. covered with fly screen material held down by a wooden frame, ours was A4 sized. You scoop the pulpy water into it letting the water drain out. 

Once we got the deckle and paper drained of excess water I manoeuvred the deckle with the pulp onto a drying board. The fly screen has the paper to be on it and you place that on the board. With the fly screen mesh still over the top we sponged off more water. Then we stuck it outside in the sun to dry on the board.  
The magazine and junk mail bits added interesting splotches of colour. I think it worked out well. Next time we will have a go embossing and making leaf prints on our lovely paper.


Thursday, March 31, 2016

Maaaaagic Mushrooms !!

Here we are then, magic mushrooms for in your garden pots.

 We started with a length of fencing wire about as long as my hand. I made a loop with a pair of pliers for all the students at the top of the wire so that it will not poke through the mushroom cap. 

The next step is to form a polymer ball around the loop of the wire, roughly about 5 cm or so in diameter.

Then we formed a stem connecting to the base of the ball by wrapping the wire with polymer clay and smoothing over the joins. I think a wider base looks more convincing if you are going for realism, but mushroom stems come in all shapes and sizes. There should be wire sticking out the bottom so you can poke it into the ground.(and hang it upside down in a pan in the oven!)

Next we rolled a 5 mm thick disc of clay that covered the palm of my hand. Make sure you make it thick enough or the cap will droop too much.

Finally the fun bit, you can pinch a skirt on the stem and make little balls to form the spots on the cap. I made marks in the underside to look like the gills of a real mushroom, scoring with a sharp clay tool.

After you are satisfied with the overall look you can fire it in the oven according to manufacturers directions. We used Sculpey so I cooked it for 25 minutes at 130 degrees Celsius. I hung it upside down in a stock pot (all metal, watch out for plastic handles) from the base wire curled around another piece of wire suspended over the pot. This way not of the mushroom has to rest on any of its uncooked surfaces.

And then we painted! I used acrylics, layering the colours for the cap. For the base I watered the paint down and rubbed it back off, this leaves paint in the scored sections. The base was a straight burnt umber watered down and the cap has purples, reds and blues in various layers. 
To make it more lasting I am varnishing with a matte sealer. I think it is best if you don't stick them in the direct outside kind of weather conditions, maybe in a pot on your patio? 

Friday, March 25, 2016

Mixed Media Canvas

The latest craft adventure was some awesome mixed media canvas collages. We used serviette pictures, paint, glitter, flowers, stamps, stencils and a range of ephemera to create individual messages and odes to creativity.

We started with a blank canvas onto which we glued the top layer of serviette pictures, carefully torn using water brushed around the image. If you cut the image out then you will have a more defined edge of the tissue image. The glue we used was an acrylic gel medium. Next we sponged on some colour and used stencils to create effects and words. Lastly we glued on some gems, wooden and other ephemera using either more acrylic gel medium or double sided tape.
This is the end result of a group workshop on the same thing. With more time and patience you can add paint textures, more painted layers over the top of glued ephemera and use mediums like crackle glazes and modelling paste.